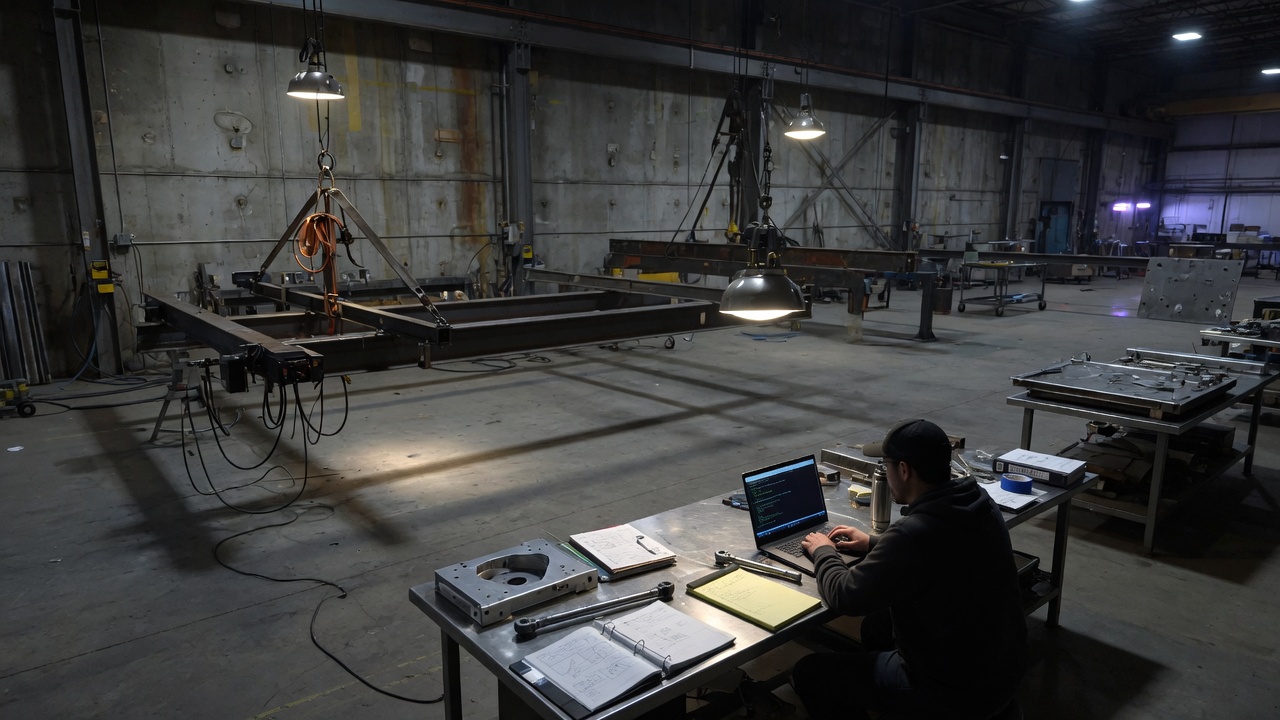
A high-bay at night: one bench, a laptop, steel in the air

C · Grok Build

Grok Build

You go from a folder of your files to a local repository — even if you do not know that word yet — then plan, review, and ship.

Two doors

One spine. Pick the honest start.

New bench: folders, then what a repo is. Already a repo: prove git status in a tree you already work in. Both meet at sign-in and the TUI. If the proof is a guess, take the new bench.

After this

API is optional.

Finish the job here first. If you later want Grok inside software you own — a script, a site, a shop tool — open the API pathway. You do not owe that to Applied or Build.

  1. New bench

    Folders, not magic

    You have never used a repo or a real terminal for this kind of work. Start here. Do not skip to Already a repo.

  2. New bench

    What a repo is

    New bench, continued. After Folders, not magic. This is how a folder becomes a repository — still no GitHub account.

  3. Already a repo

    Already a repo

    You can already open a terminal, cd into a git repo you work in, and paste git status. If that sentence is a guess, use Folders, not magic instead.

  4. Both doors

    Sign in and survive the TUI

    Both doors. If grok --version already works, do not reinstall. Launch in the repo you just made (C0b) or the one you proved (Already a repo).

  5. c2

    Tools, scrollback, and the permission prompt

  6. c3

    Plan mode before the first edit

  7. c4

    Real repo, real diffs, you accept

  8. c5

    AGENTS.md, project rules, and memory

  9. c6

    Author a SKILL.md and run it

  10. c7

    MCP servers, plugins, and hooks

  11. c8

    Subagents and worktree isolation

  12. c9

    Headless mode, ACP, and Grok Bot

  13. c10

    Permissions, review, and what you will not bypass

  14. c11

    Ship a small app with Grok Build